Tuesday, July 24, 2012

Fun Free Fonts!

I love, love, love fun fonts! I just feel that a great looking font makes my written material stand out more. From my newsletters, to workshop invitations, to staff correspondence, to materials I use with my students, I am always looking for the perfect font to go with the topic at hand.

Besides loving fun fonts, who wouldn't love a FREE fun font? Here are two of my favorite sites to go to to download free fonts!


Kevin & Amanda

On Kevin & Amanda's site, look for the tab on the top that will direct you to the free fonts. Before you do that, stop and take a few minutes to explore this blog. I enjoy visiting it to read of their adventures and fantastic, everyday ideas!


When you get to www.dafont.com, you can peruse all of the fonts. It will take you some time -- there are a lot of them! On the right, you will find the download button for each one. Look above the download button - it will tell you if the font is free.
Happy free fonting!


Monday, July 23, 2012

100 Followers!


Never in a million years did I think that this blog would have any followers,
much less have 100! I am just thrilled! Thank you so much for finding my posts/ideas worthy enough for you to choose to follow them!

The comments have been so kind, the questions have been so pertinent, and the enthusiasm for your career really comes through in the words you have written to me. It has been great fun to follow along with all of you expert bloggers and educators. Everyday I turn on my computer, I feel I get a little dose of professional development. I am learning so very, very much!

I hope you will continue to find some helpful ideas to use in your school here at
 Entirely Elementary...School Counseling!

Coming up next...the blog's Facebook page!

Sunday, July 22, 2012

Motivational Medals!

I found these plastic award medals (similar to the plastic buttons in my post titled "Bucket of Buttons") in the dollar section at Target.


Using a fixed sized 2.25 inch circle/shape in Word, I added the text of positive sayings and printed them out on the colorful cardstock
I found at the Dollar Store.


After printing, I cut them out and added the circles to the plastic award medals. Here they are, Motivational Medals!


These will stay in my school counseling office and be used during group or individual sessions in order to congratulate a student for a job well done and to motivate him/her to keep up the good work. Students will either hang them up before they leave my office or return them at the end of the day.

Coping with Conflict Tool Box

In 2 prior posts - Hot, Hot, Anger and Cool Down Ice Cubes, I referenced a book our district uses for Conflict Resolution activities and lessons. Diane Senn's Coping with Conflict: An Elementary Approach is a fantastic resource for anyone looking to incorporate this topic area into their guidance curriculum. In the years since we adopted this book, I have expanded on the grade levels I use this resource for.  I now use the concepts in kindergarten through grade 5.


In the book, she writes about "Timely Tools" - strategies to help solve conflicts peacefully. Many, many years ago, I bought a tool box, made it into a Conflict Tool Box by affixing the strategies on the outside, and making the "tools" or strategies to put inside the box. I use this toolbox every year (many times a year) for classroom lessons, small groups, and individual sessions. The tools provide a visual to go along with the strategies being taught.

For those of you who would like to give this a try, below you will find a picture of my tool box.


For grades K and 1, I use a tool belt (I tie it around my waist) and pick a few of the basic tools to focus on. In grades 2 and 3, I add a few more tools than in K and 1 and use the tool box. In grades 4 and 5, I use the full tool box and all of the tools.

Below is a picture of the Timely Tools.


The Tools
Heart - Have a "Heart to Heart" or Talk it out!
Doughnut - Share
Ear Muffs - Ignore
Band-aid - Apologize
Dice - Chance Games
Seesaw - Take Turns
Rope w/Knot - Compromise
Stairs - Negotiate
Flag - Get Help
Purple "No" Symbol - Avoid
Stop Sign - Postpone
Clown Wig and Sunglasses - Use Humor


Book Organization (Part 1) - Summer Project #5

This is what my picture book closet looks like at school - A MESS!


Book organization is on my summer project list because; 1) the state of this closet is driving me nuts, 2) because I no longer know what books I have in my collection (I stopped adding to my database a few years ago), and 3) I'm tired of buying duplicate titles.

Picture Book Bin Labels - Part 1 of Book Organization

I will be adding a 2 more plastic bins (found at Target) because I've run out of space in the existing 6 bins and I wanted to add labels to them.

At the Dollar Store I found this cool patterned cardstock (one side with a print and the other side is a solid color)


At Staples, I purchased plastic name-badge covers and book rings after seeing the high cost of bin label covers and plastic rings on various school supply websites.


I created a document with various text boxes to indicate letters I wanted on each book bin label. I do tend to organize my books alphabetically by title. Click here to print out the labels on your own paper or cardstock.

Then I cut out the labels and inserted them into the name-tag holders. I attached the book rings onto the name-tag holders and then hooked the label onto the book bin.


Friday, July 20, 2012

Lunchbox Love for Kids!

A rainy day means a bit of shopping. Upon walking into the Christmas Tree Shop, I looked to the right and saw these fun cards! Lunchbox Love for Kids!


What stuck out to me - the great price ($2.99 for Volumes 1-2 - 24 cards) and the fun, colorful cards that I could view from the packaging. I was hoping that when I would open up the package, I could use these cards in my counseling office. I got home and this is what I found...


Certainly this is only a sampling of the cards inside the package, but as you can see there are some very school counselor appropriate sayings and then some very kid friendly facts on the back!

I will not be using these cards in lunchboxes, but instead as little happy-grams! I plan on using them with kiddos who may need a pick-me-up, special reminders, or extra encouragement. I might set one on his/her desk in the morning as a surprise for when he/she arrives or in his/her coat pocket hanging in the closet, or inside the book the book he/she is reading (on the page where their bookmark is). They could also be mailed (who doesn't like to receive snail mail?). They could also be used in small groups...an activity may be for the students to give a card to a classmate who he/she feels deserves it!

I then did some investigating and found the website online at www.sayplease.com. Here you will find all sorts of fun lunchbox cards (for kids, adults, teens, etc.) and also, you will find a bunch of black and white free printables. I am particularly interested in the Lunchbox Love for Everyone cards which could be used to boost staff morale!! I

Inside the package that I purchased, there was a 10% off coupon for online ordering. You can also sign up for coupons on the website when you enter your email address for the printables.

Home

Enjoy!


Wednesday, July 18, 2012

Hunter and His Amazing Remote Control


I have had the best time, this summer, exploring a host of unbelievable school counseling and other education blogs. It always amazes me of how clever educators are. These folks are such inspirations to those of us who read about their latest endeavors and ideas!

In my perusing, I began following Scrapbook of a School Counselor. One of her posts speaks about her shopping excursion at the ASCA Conference (so much fun!). I immediately recognized one of the books in her picture as Hunter and His Amazing Remote Control, written by Lori Ann Copeland. I immediately thought to myself, "She made a great purchase!"


I have been using this resource for over 10 years and I wanted to post how I use this book with my students. Maybe some of you will want to use the last few weeks of summer to create any props you may use with this resource. The book includes: a story about Hunter (who has difficulty with self-control), lesson plans and activities/games, and printables. It is well laid out and extremely easy to use. I use this book in small support groups for students in Grades 3, 4, and 5 with impulsivity and self-control issues. Depending on the students, I think it could also be used with 6th graders. It is a novel concept, but the concept definitely provides a hook for these students.

Each button on the remote control stands for a particular strategy/concept in maintaining self-control. For example, the Channel Changer button reminds students that when their minds drift off to another channel (or topic) different than the channel (or topic) they are supposed to be thinking about, students need to press the Channel Changer button to switch their minds back to the correct Channel. So, if the teacher is teaching about fractions in math class and his/her mind drifts off to the "What I'm Doing After School Channel" then he/she needs to press the Channel Changer button to get back on the Fractions Channel.
I split up the book into 8 sessions. Each session focuses on one of the buttons. I have doubled up on the buttons in sessions...but that usually occurred with last few buttons.
Overall, the basic agenda of each session is as follows:

1. Review of group rules
2. Review of the remote control button(s) from previous sessions
3. Introduce the remote control button to be taught today by using the small wooden 
    remote control. These are foam bottons attached by Velro to a painted piecte of wood.
    All foam sheets were purchased at ACMoore.
3. Read section of the Hunter book that goes with today's remote control button being
    taught.
4. Further teach/define today's self-control strategy. Refer to the small wooden remote
    control.
4. Using a crayon, color today's button on personal paper remote control (this
    printable is located in the book). Students keep this paper remote control at the end of
    the group and is displayed on desk or in folder, etc.
5. Add today's foam button on large remote control. This is a cake board - cardboard 
    rectangle, maybe 13" x 19" or so, purchased in the cake section of ACMoore.  I made 8
    of them. These stay in my room - students do not get to keep these.
  6. Complete an activity which goes along with today's remote control button and
     strategy.
I developed a workbook to go along with each group session. Sometimes we complete the workbook pages during the group session, but sometimes I give a page as homework. I use the homework method to further build on the ideas of self-control and personal responsibility presented in the group and will reward students for returning the workbook the next day. Students take home the workbook when it is completed. Pages in the workbook include:
  • Ways I will use the Channel Changer button at home
  • Ways I will use the Channel Changer button at school
  • 5 ways I will use the Pause button
  • A time when I didn't use the Fast Forward button....
  • Next time I will...
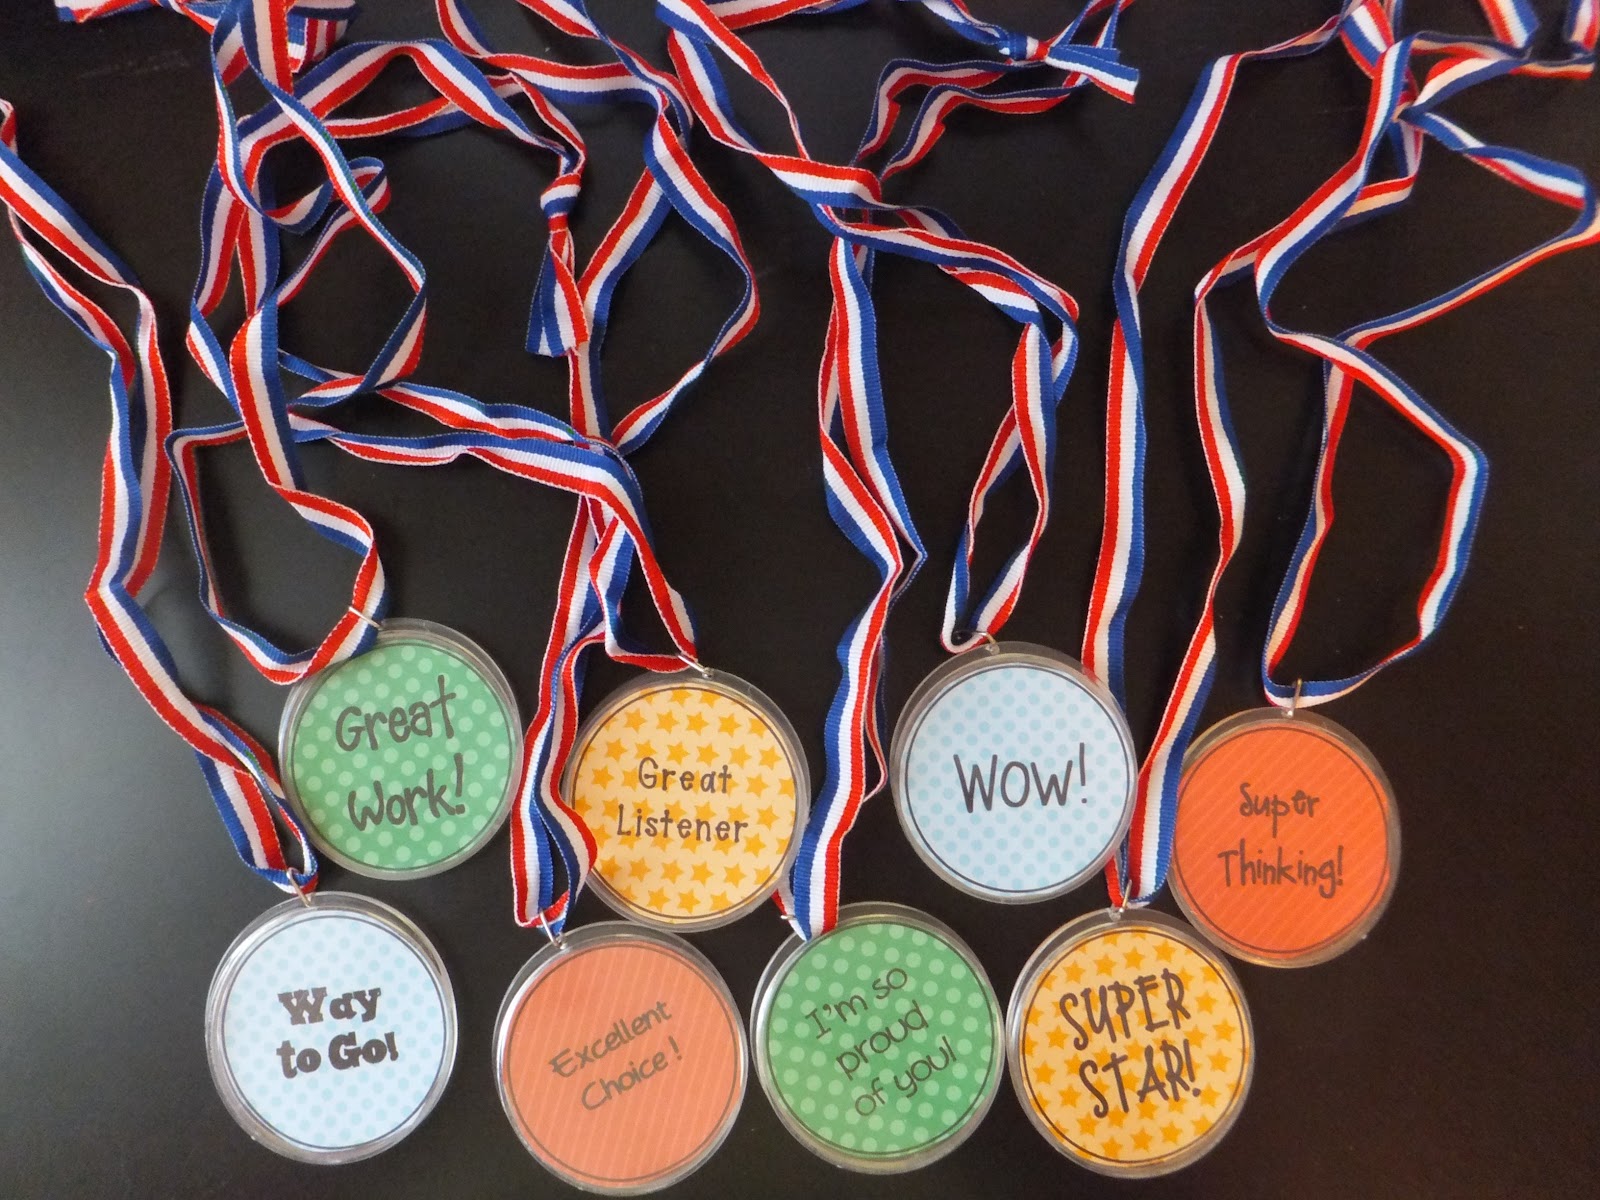
As the book outlines, prior to the last session, I send a letter home to parents (teachers or other staff members) of each group member. The letter asks these folks to secretly write a letter of affirmation for the student and get them to me prior to the last session date. On the last session (Way to Go!) students read their letters (privately or aloud - whichever they feel most comfortable with). This is the most powerful session and activity. Who doesn't love to read/hear positive things about themselves?

Have fun with Hunter and His Amazing Remote Control!


Saturday, July 07, 2012

Cool Down Ice Cubes - Summer Project #4

As a part of my anger management classroom guidance lesson in 4th grade, I use these "Cool Down Ice Cubes" to discuss ways to cool-off our anger before an explosion happens! This lesson and these ice cubes are a HUGE hit with the students!

In a post from June 2011 titled "Hot, Hot Anger!" I describe a kindergarten classroom guidance lesson for anger management and reference a book by the fantastic author Diane Senn. Our district uses her Coping with Conflict book as a resource for our conflict resolution unit in 4th grade.

In this particular 4th grade lesson on anger management, I:
  1. Teach students that anger is a normal feeling that we ALL have. But, we need to be careful about how we REACT to feeling angry.
  2. Review the 3 Anger Rules (You may not hurt yourself. You may not hurt others. You may not hurt property.). I say review here because I've begun to teach these anger rules in other grade levels. They are to the point, easy to learn and easy to remember!
  3. Teach about Anger Fouls (using my handy dandy whistle and making a referee's arm motions for a foul in basketball - the kids get the biggest kick out of this). We discuss verbal fouls and physical fouls. When a foul is committed, one or more of the anger rules will be broken. We discuss which rules are broken for various examples of fouls.
  4. Discuss the effects of anger on our body -- hot, red, sweaty, on fire, shaky, tight, headache, heart pounding, clenched jaw or fists, etc.
  5. Teach the students that there are a number of ways to safely "Cool-Off" our anger so that we don't commit a verbal or physical foul and so that we avoid breaking any of the anger rules. I then bring out the container of "Cool Down Ice Cubes" which I had hidden in my little container on wheels during the rest of the lesson. This container of ice cubes was in the freezer until just before the lesson began - hence, the ice cubes are still frozen and cold! I explain to the students that written on many of the ice cubes is a way to cool down when angry. I explain that some ice cubes don't have anything written on them.
  6. Then I lay out what we will do next and the rules of the game. Each student gets an ice cube to hold and in a few minutes, each student will read what his/her ice cube says. If a student gets an ice cube without words on it, he/she is think of a cool down strategy to share with the class. When they get their ice cubes, they are to carefully examine (I demonstrate) their ice cube for written words that give a strategy for cooling down. If their ice cube has words on it, they are not to touch the words (although written with a Sharpie marker - because the ice cubes sweat, the words will wear off (if touched) after a few classes). I tell them that ice cubes are not to be thrown, traded, squished, tossed into the air, put in mouths or noses, etc. You may be laughing, but you would not believe what can happen with these frozen cubes! I have taken ice cubes away from students for these actions. After every student has a cube (and students who have blank ones have had a few moments to think of an unique strategy), I go around the group and have them read the strategy aloud. For some of the strategies we will act them out so they know just how to use them.
Cool Down Ice Cubes


How to make the Cool Down Ice Cubes...

Purchase reusable plastic ice cubes at places like the Dollar Store, Target, Christmas Tree Shop, Bed Bath and Beyond, Amazon.com, etc.
  • The ice cubes pictured above were purchased years ago and are made with thicker plastic. These are the kind I would highly recommend. Now is the time to look for them in summer clearance sections!

  • The ice cubes pictured below were purchased for $1 at The Christmas Tree Shop and are made with much thinner plastic that is easier to squish. I would not recommend these.


Using a fine Sharpie permanent black marker, write a safe Cool Down strategy on each ice cube.  You will have to trace over each one every summer to get ready for the next year's lesson. Here are a few examples - the strategies are endless! I always enjoy hearing the student ideas!


Put the ice cubes in a container and place in a school freezer a few days prior to your first lesson. After each lesson, place back into the freezer until your anger unit is finished.


Have fun Cooling-Off!!

Friday, July 06, 2012

Ping Pong Prizes - Summer Project #3

Over the years, I've had a number of students who are on behavior modification plans. We will administer a survey of reinforcers to determine which type of reinforcers the student will work for. 

One of my most successful plans uses a reward list with all types of reinforcers listed (adult attention, peer attention, peer and adult approval, tangibles - food and objects), etc.). Students earn points or fake money based on their behavioral charts/goals which are then used to purchase various rewards. Each reward costs a different amount with the most sought after reward (a special lunch with numerous adults in the building) being the most expensive. Since the list is comprehensive, students have options.

While this plan has been successful, I have had a number of students, in more recent years, that have the need to be "surprised." These students earn a reward based on a random pick of a token (a reinforcer is written on each token). Tokens are periodically added and since each of these rewards is "high value" to these particular students - they like the element of surprise.

For these students, I wanted to develop a new surprise gimmick other than the usual tokens. I call it Ping Pong Prizes.

This is how I made it:

1. Purchase some self-stick sticker numbers
and some ping pong balls.

2. Affix the stickers to each ping pong ball.


3. Purchase a small pocket chart for $1 at Target.


4. Using Word, create number cards (32). Print, cut-out and laminate. Insert the cards into the pocket chart.


5. Come up with a list of various reinforcers/rewards and print out on small slips of paper. Put one slip behind each of the numbers on the pocket chart.

6. When a student earns a Ping Pong Pick, he/she will reach in the bucket and choose a numbered ping pong. He/She will then choose that number on the pocket chart to find out his/her reward!


If you like colored Ping
Pong Balls or white ones....
 

Magnetic Boards - Summer Project #2

I have a wall of closets in my counseling office that are just plain wood. For years I've been thinking about how to spruce them up. I mulled over painting, covering with fabric, and covering with paper, etc. Then, on Pinterest, I was inspired by this blogger's use of cookie sheets (http://bit.ly/jG9CVR) to make magnetic boards.

My thought it that I could use Command Strips to adhere the magnetic boards to the closet doors in order to display student work, important information, or just use as decoration. I could also remove the magnetic boards from the closet doors and use them for small groups if I have an activity that warrants it.

This is how I made them:
 Purchase metal pizza sheets and cookie sheets
at the Dollar Store. Check to make sure a magnet sticks to them - just in case!


Purchase large, colorful, and shiny gift bags at Target
or other local store. I wanted the thickness, shine, and variety of designs - that is why I purchased these instead of gift wrap. 


Carefully peel off the gift bag handles.


Cut down the side of the gift bag (at a corner) and cut out the bottom of the gift bag.


Trace the trays on the gift bag paper and cut out. May need to trim up, but can do so easily by placing the paper inside the tray and running your finger on the top of the paper and along the edge of the tray. Cut along the crease you made.


Take the cut-outs and adhere to the bottom of the pans. I used tape in case I'd like to change out the
paper some day.


 Buy some command strips and adhere to the back of the trays to hang. They are ready for some magnets!! Perfect for your room or hallway!


Shopping Trip

I was out shopping yesterday and as an educator always does, I took a good hard look at all the $1 bins at Target and thoroughly made my way through the Dollar Store. Check back to the blog to see what I will be making and doing with all of these finds.

This is what I bought...

Target Purchases


Dollar Store Purchases


Sunday, July 01, 2012

Button Bucket - Summer Project #1

I was up early this morning and decided to cross the first summer school counseling project off of my list! A Bucket of Buttons!!!


On Pinterest, many months ago, I saw a Pin highlighting badges that had the question, "Ask me what I got on the test." I knew I wanted to take this idea one step further - highlighting student effort and giving students the opportunity to be proud of, and speak about, their specific accomplishments. I began writing down phrases that I wanted to highlight on the buttons....I must admit, it got a little out of hand.  I quickly realized that there are so many things that can be said on these buttons and the nice thing is, the sayings can be switched out at any time!

Phrases include:
  • Ask me why I had a great day!
  • I was as cool as a cucumber! Ask me about it!
  • Ask me how I made a difference in someone's life.
  • Ask me why I'm a star student
  • Ask me how I used a Tool to solve a conflict
  • Ask me how I did on my classwork
  • Ask me how I calmed down
  • I made a bright choice! Ask me about it!
  • Ask me how I improved.
  • Ask me why I made my teacher smile!
  • I'm a fantastic friend! Ask me what I did.
  • Ask me how I used my noodle.
  • Wow! I worked hard today!
  • Super Star
  • I'm kind and caring
  • I had a great morning!
  • I followed directions
  • I did a great job!

For a few months, I collected all the materials I would need:

#1: A number of do-it-yourself plastic buttons/pins from a local craft store.
  • I purchased large buttons (3.5 inches) and small buttons (2.25 inches)
  • Now is a great time to buy them - craft stores have these buttons for summer kids craft projects
#2: A bunch of decorative scrapbooking paper and cut to 8.5 x 11 - to run through your printer
  • I looked for fun papers that I could make cute sayings up for
  • The print on the paper can't be too dark - so you can read the words printed on it
#3: A fun colored bucket from the dollar store

Then, I made them.
  1.  In word, I created 2 documents - one for the 3.5 inch buttons and one for the 2.25 inch buttons.
  2. I inserted a shape (circle). I set the size to 3.5" x 3.5" in the one document and 2.25" x 2.25" in the other document.
  3. In the 3.5" document, I also inserted another shape (circle) and set that shape size 3.25". On this circle, I inserted text (centered on the bottom) - my name.
  4. I inserted text and played around with all the different fonts.
  5. Using the decorative scrapbook paper that I cut down to size (8.5 x 11), I inserted one piece at a time into the printer and printed one button out at a time. I did this so each button/saying has a different paper background. So, for the 3.5 inch buttons, 2 circles will print out per decorative sheet - one with the saying on it and the smaller one (3.25") with my name on it.
  6. I repeated this process with the smaller 2.25" buttons....but I only printed out one circle per sheet of paper (unlike the larger ones).
  7. Cut out the circles. Insert into the plastic pin/button and snap together. The circle with my name on it was the back of the button.

3.5 Inch Buttons


2.25 Inch Buttons


Store in a Button Bucket!